 +31 (0) 33-253-6804
  Assembly Guide
Assembly & Installation
Intercell is designed for fast and straightforward installation — no drilling, no demolition, and no specialist tools required. From preparation to finishing in a few simple steps.

 No drilling, no demolition
Ready in no time
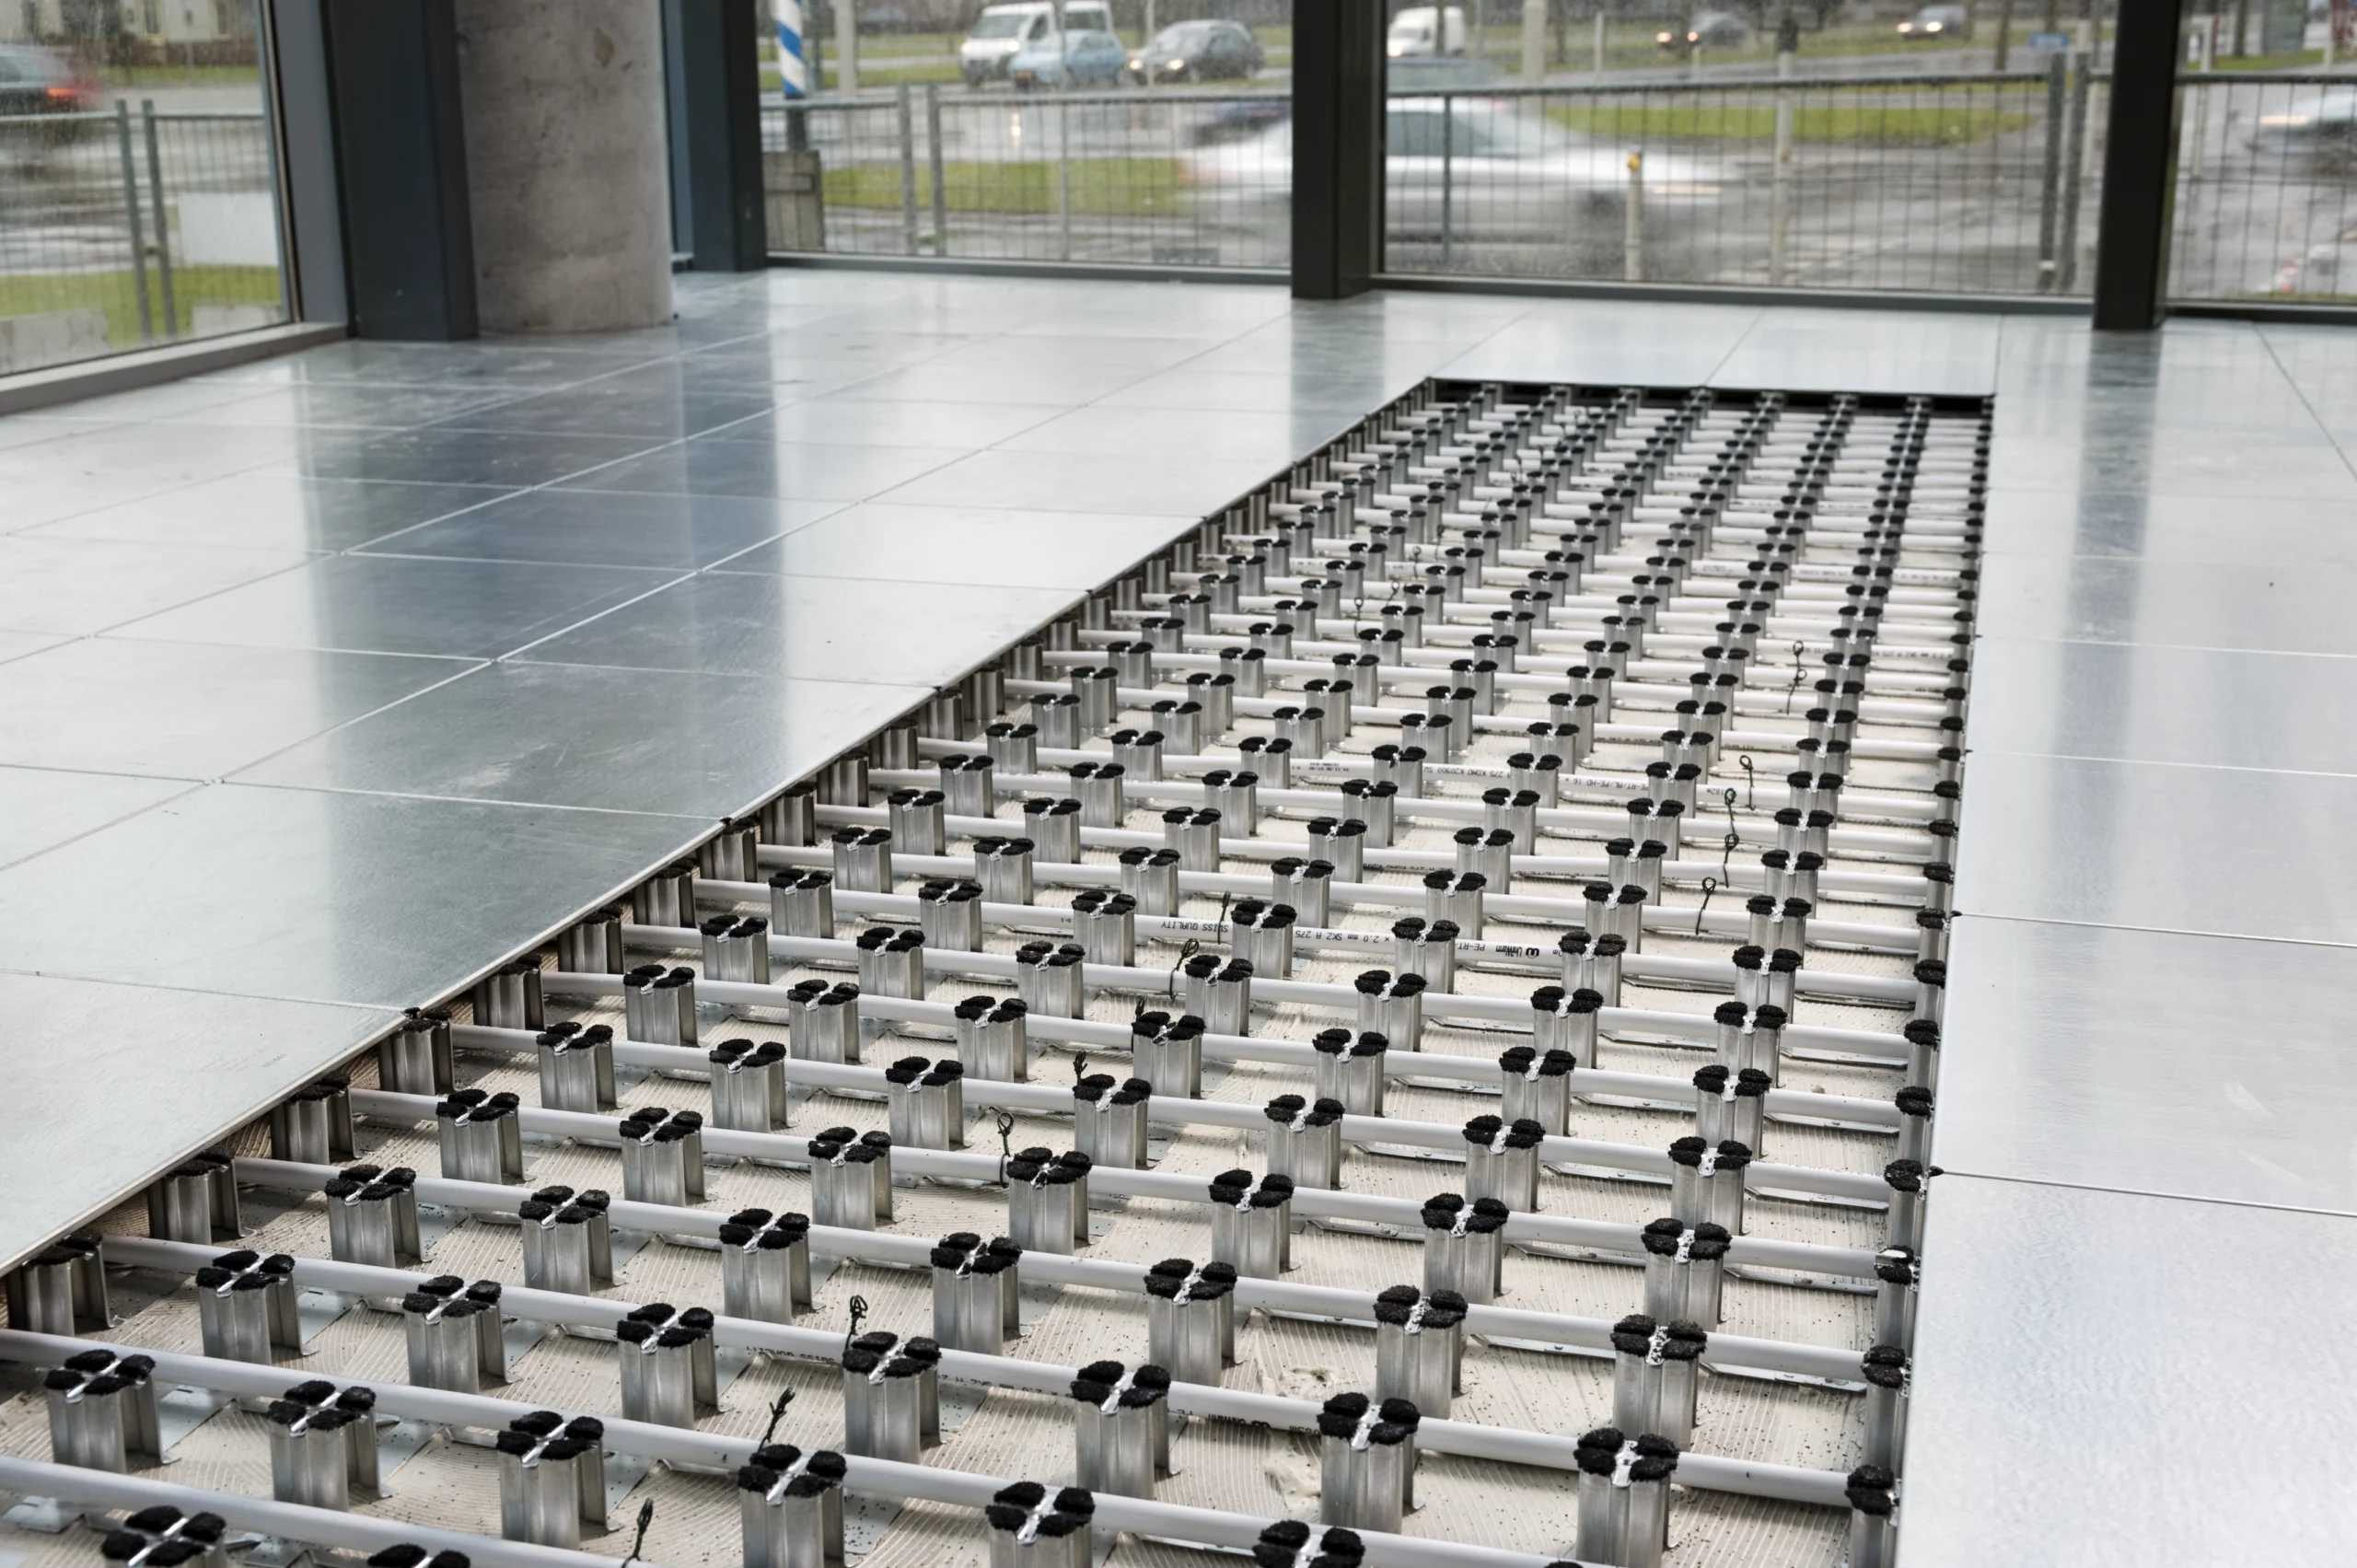
Intercell is designed for fast and straightforward installation. No drilling is required, no demolition work is needed, and installation can be carried out on a levelled floor using adhesive bonding or megascrews. An average space is completed in a short time, with minimal disruption to the surrounding environment and without interrupting day-to-day operations.
After installation, reconfiguration or reorganisation of the workspace is far simpler than with other cable management systems or a traditional raised floor. The floor panels can always be removed and replaced quickly, allowing cables to be rerouted, floor boxes to be relocated, and the room layout to be adjusted without demolition work or disruption. This makes Intercell not only a smart choice at initial installation, but also over the long term.
How the installation works
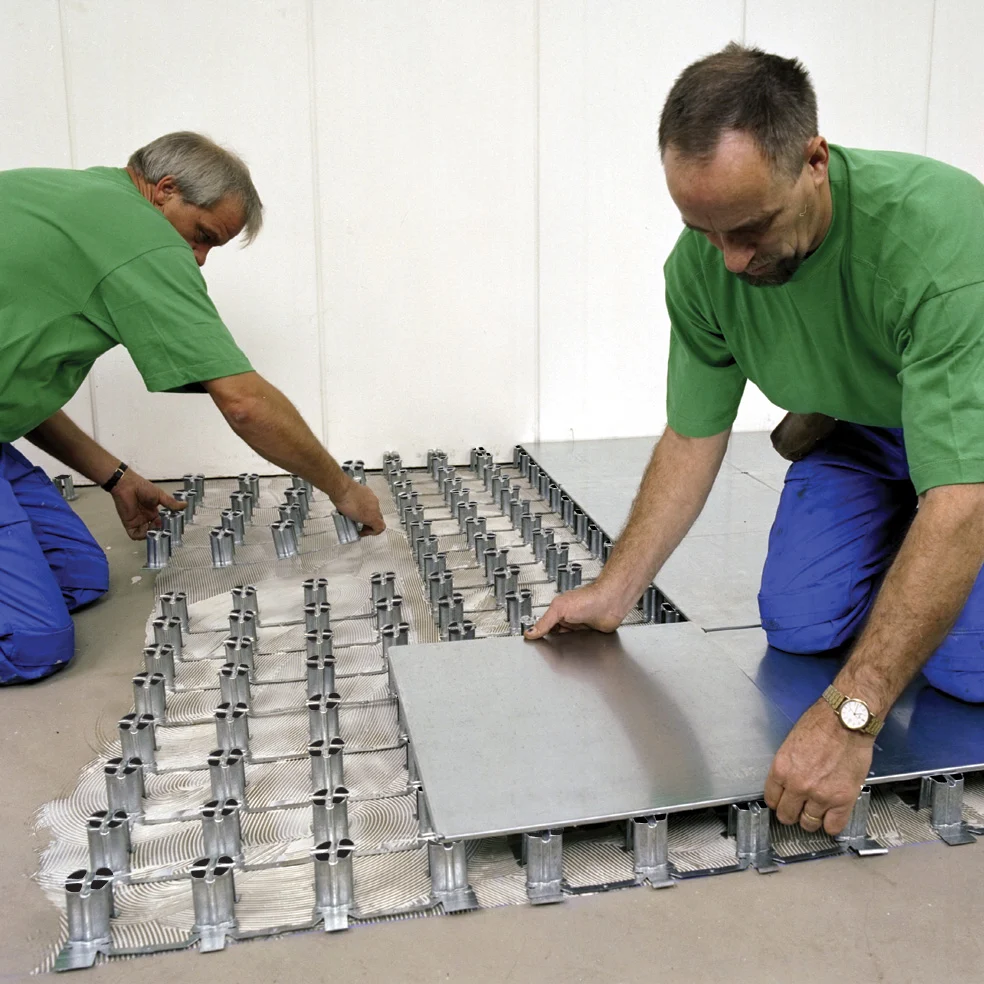
The installation of Intercell takes place in a few simple steps. No complex techniques, no special tools, and no major renovation works. Whether it concerns a small office space, a large production hall, or a listed building, the installation of Intercell always proceeds quickly, cleanly, and with minimal disruption to the surrounding environment. Below is an overview of the five steps that lead to a complete Intercell installation.
Level the subfloor
Ensure a clean, flat, and levelled subfloor. This is the only preparation required before installation can begin.
Place the floor supports
The floor supports are fixed to the subfloor using acrylate dispersion adhesive or mega screws. No drilling, no damage to the existing floor.
Route cables and services
Cables, power, and data connections are neatly concealed between the floor supports. Floor boxes are positioned at the required locations.
Lay the floor panels
The floor panels are placed onto the floor supports and secured with mega screws and fix clips. The system is immediately ready for use.
The right height for your situation
Intercell is available in multiple system heights, ensuring the system always accommodates the volume of cables, conduits, and other services you wish to conceal beneath the floor. The appropriate height depends on your specific situation. The more space you require under the floor, the higher the floor support you select. Please contact us if you are unsure which height best suits your situation — we are happy to advise.
mm
Ideal for limited space and low ceilings.
mm
The most commonly used height for office and commercial environments.
mm
Suitable for higher cable volumes or larger service installations.
Easy to Adapt
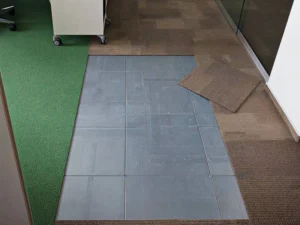
Is your workspace layout changing? With Intercell, you can adapt the system effortlessly. The floor panels can be removed and reinstalled without tools. Cables are rerouted, floor boxes are repositioned, and the layout is reconfigured — no demolition work, no contractor, and no unnecessary costs. This makes Intercell not only a smart choice at initial installation, but also over the long term.
Whether it concerns a minor reconfiguration of a single workstation or a complete reorganisation of the entire space, Intercell adapts accordingly without requiring major investments or extended periods of downtime. This allows you to respond swiftly to changes in your organisation, your production process, or your workspace — without depending on a contractor or a large-scale renovation.
Frequently Asked Questions
How long does the installation of Intercell take?
The installation time depends on the size of the space, but Intercell is designed for rapid installation. An average office space can be fitted with the system in a short period of time. Installation can be carried out outside office hours or during holiday periods, minimising disruption to the surrounding environment.
Is special tooling required for installation?
No, the installation of Intercell does not require any special tooling. The floor supports are secured by adhesive bonding or megascrews, the cables are routed, and the floor panels are repositioned and fastened using megascrews and fixclips. Everything you need is already included in the system.
Can installation be carried out outside office hours?
Yes, the installation of Intercell can be carried out outside office hours, during holiday periods, or during a planned closure of the space. This minimises disruption to employees, students, or visitors and avoids any interruption to day-to-day operations.
Does the subfloor need to be prepared prior to installation?
Yes, the subfloor must be clean, level, and levelled for an optimal installation. This is the only preparation required before installation can commence. A level subfloor is essential for a stable and reliable installation of the Intercell system.
Can Intercell be installed in an existing building?
Yes, Intercell can be installed in both new and existing buildings. The floor supports are secured by adhesive bonding or megascrews, without drilling and without demolition work. The existing floor remains completely intact, which is a significant advantage in renovation projects and listed buildings.
How straightforward is it to reconfigure Intercell?
Very straightforward. The floor panels can be removed and repositioned without any tooling. Cables are rerouted, floor boxes are relocated, and the layout is adjusted — without demolition work and without a contractor. This allows you to respond quickly to changes in your workspace at any time.
Can Intercell be installed on all types of subfloor?
Intercell can be installed on levelled concrete floors and other flat, clean subfloors. The subfloor must be dry, clean, and dust-free to ensure optimal adhesive bonding. Please contact us if you have any doubts about the suitability of your subfloor for the installation of Intercell.
Questions about installation?
Contact us for personalised advice on installing Intercell in your situation.